


 |
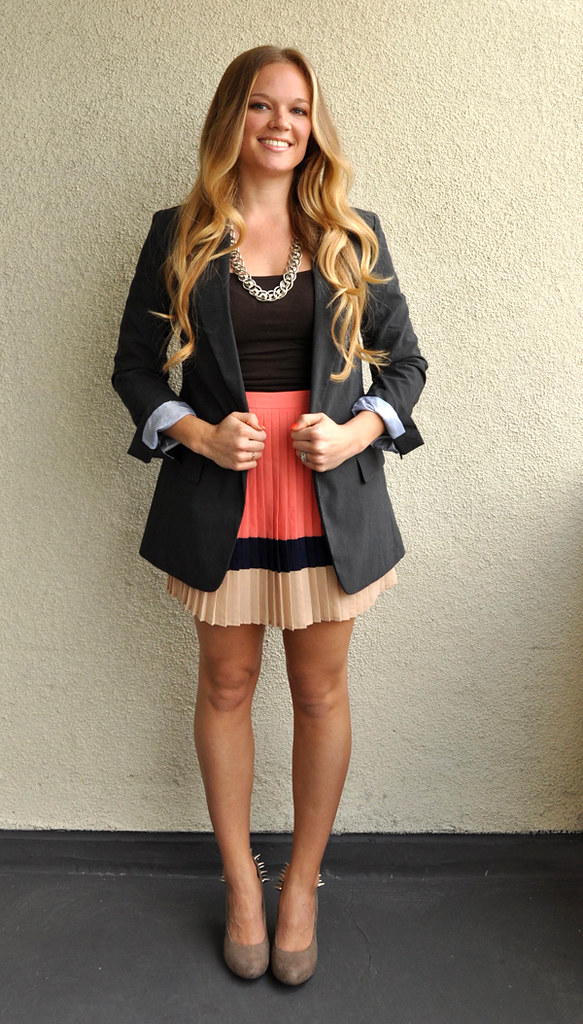
| What I wore: 30 days. No outfit repeats. Day 10. AE jacket, Forever 21 skirt, DIY heels. |
1. Acquire a relatively inexpensive
pair of high heels (a pair you don’t care if you ruin, just in case this
doesn’t go as planned).
- Tip: I would recommend getting them just a tiny bit big, as you want some room to add a little heel cup type thing to protect your foot from the screws. Don’t go too much bigger than normal though- the screws make the shoe heavier and if it’s too loose, your shoe will constantly slip off.
2. Buy your spikes. I ordered mine
online at http://studsandspikes.com/.
(Mine are size 13 and size 16 cone spikes).
3. Get a drill, a drill bit that’s big
enough for you to force your screw through the opening but not so big that your
screw will wiggle around in the hole (it should be difficult to push your screw
through the hole), a sharpie, a small screwdriver and a person who’s allowed to use power tools (NOT
ME).
4. To get my spikes in the right spot
I pushed them against the outside of the shoe in the spot where I wanted them, which left
a little indentation where the screw hole was. I marked this spot with my sharpie
and then we (Ryan) drilled a hole where the mark was.
- Tip: I would recommend positioning your spikes in a design that’s not TOO precise. That way if you’re a little off when you make your hole, it’s not the end of the world.
5. Push the screw through the hole from
the inside of the shoe and screw it into the spike on the outside (this is the
time consuming part, as it’s hard to work from inside the shoe).
6. When you’ve got all of your spikes
screwed in where you want them, apply a heel strip (not a cup that goes on the
bottom of your heel, but a strip that rests on the back of your heel). This
should give you protection from the backs of the screws and make the heel fit a
bit tighter on your foot.
7. Voila! Spiked heels. Easy, huh?
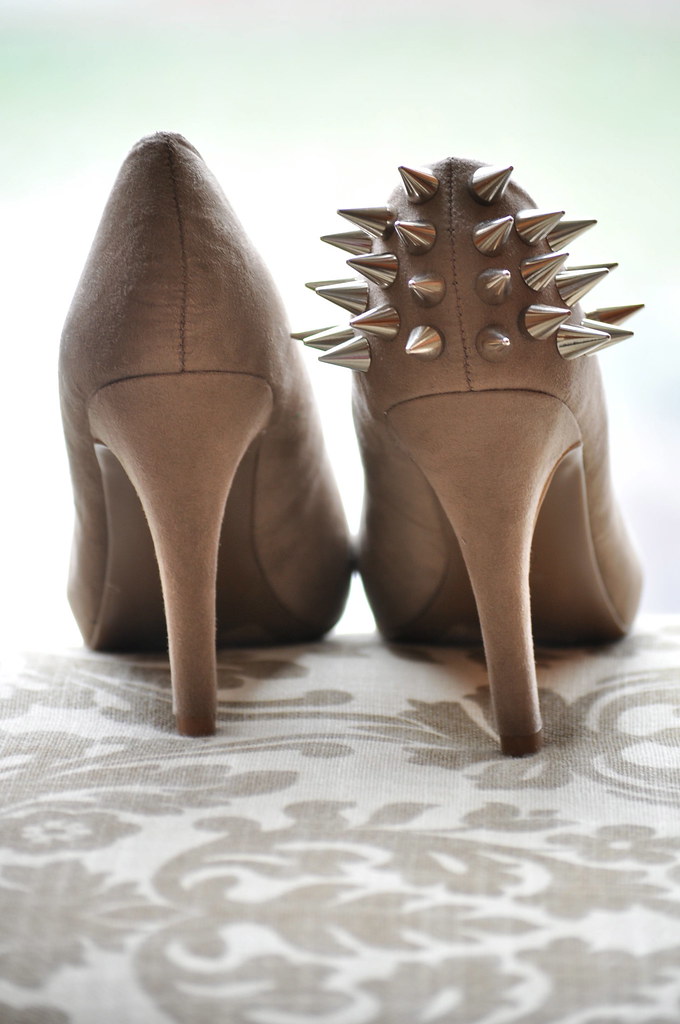 |
| Before and after. |
genius post!
ReplyDeletethe only thing is i'm kind of klutzy and i'm sure i'll spike someone (or myself)!
xx jes
www.twosmuppies.com
The shoes are stunning, can't believe they're DIY! Kudos to you! xo
ReplyDeletehttp://dreamingenfrancais.blogspot.com
You spiked your own heels? 500 million awesome points to you. I love that skirt on you. Saw it at F21 the other day and was loving it!
ReplyDeleteCute style, girl!
♥Abbey
Along Abbey Road
ok you are beautiful and i'm obsessed with your shoes! oh and your long hair, um ok everything. your blog is darling! i must do this with some of my shoes, i really am so impressed. happy to have stumbled upon your blog. xo
ReplyDeleteGahhh I LOVE this outfit, so pretty!!
ReplyDeleteOk, sorry. I'll stop commenting on like every single blog post you've written. Did I mention I like your blog?
:)
oh my goodness, i am in LOVE with those heels... this is such a fabulous look too! perfect amount of professional and stylish lady too!
ReplyDeletexx